Looking for a quick and easy meal that packs in flavor with minimal cleanup? This Dutch Oven Roasted Chicken recipe is your perfect weeknight solution!
This dutch oven roasted chicken recipe is a simple yet flavorful dish that brings together tender chicken, savory herbs, and fresh vegetables in one easy-to-clean pot. Perfect for busy weeknights, it’s a wholesome meal that requires minimal effort but delivers maximum taste. With everything cooking in one pot, you’ll save time on prep and cleanup while enjoying a delicious, hearty dinner.
Feeds 2-4 people
Prep time 4 hours
Cook time 90 minutes
Why Salt Brining Whole Chicken Works
Retains Moisture: Salt brining helps the chicken absorb and retain moisture, preventing it from drying out during cooking.
Enhances Flavor: The salt deeply penetrates the meat, seasoning the chicken throughout, not just on the surface.
Improves Texture: Brining breaks down muscle proteins, leading to a more tender and juicy texture.
Promotes Even Cooking: By increasing the moisture content, brining helps the chicken cook more evenly, reducing the risk of overcooking or drying out parts of the meat.
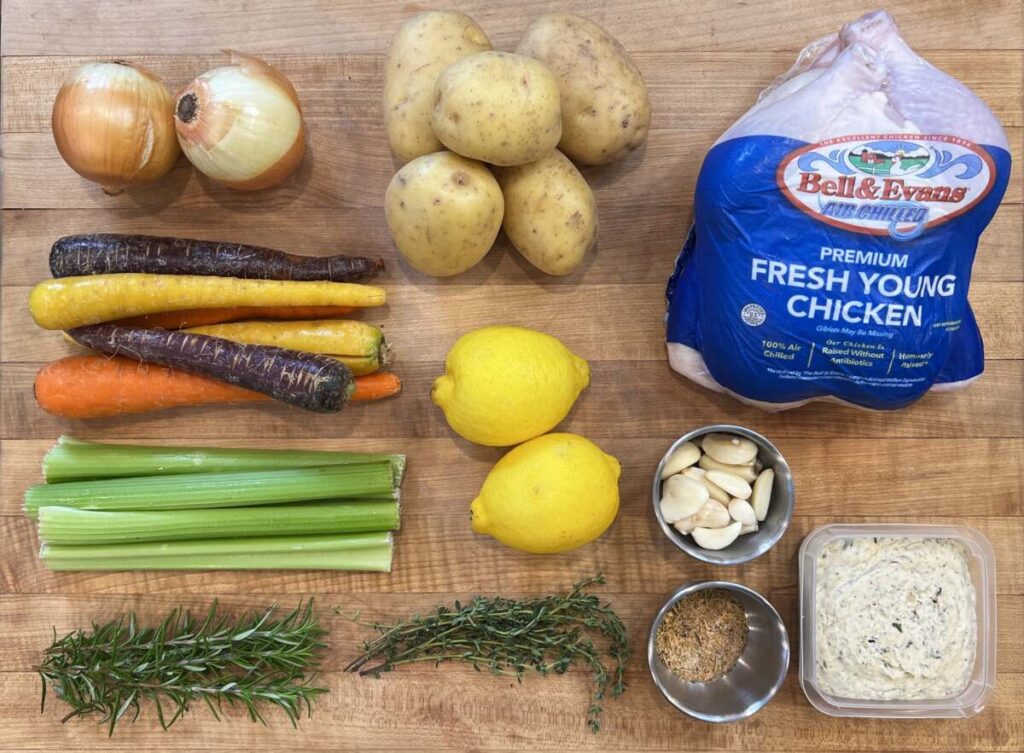
Ingredients
- 1 whole chicken giblets removed. The chicken i used for this recipe was about 4-5 pounds
- 1 tablespoon of salt
- 2 small yellow onions
- 2 lemons
- 6-8 cloves of garlic
- 4 yellow potatoes
- 4-5 sticks of celery
- 4-5 carrots
- 2 tablespoons of poultry seasoning
- ½ cup of dry white wine
- 1 ½ stick of garlic and herb butter (I’ll leave a simple garlic and herb butter recipe down below)
- 5 thyme sprigs
- 5 rosemary sprigs
- Fresh chopped chives for garnish
- ¼ cup of olive oil
Chicken Prep
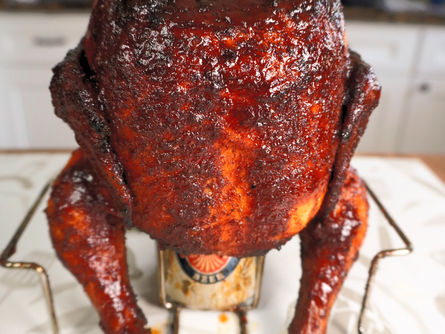
Prep the Chicken: First, place your whole chicken on a chicken rack. This will allow air to circulate evenly around the bird for optimal cooking. Then, season the chicken generously with salt.
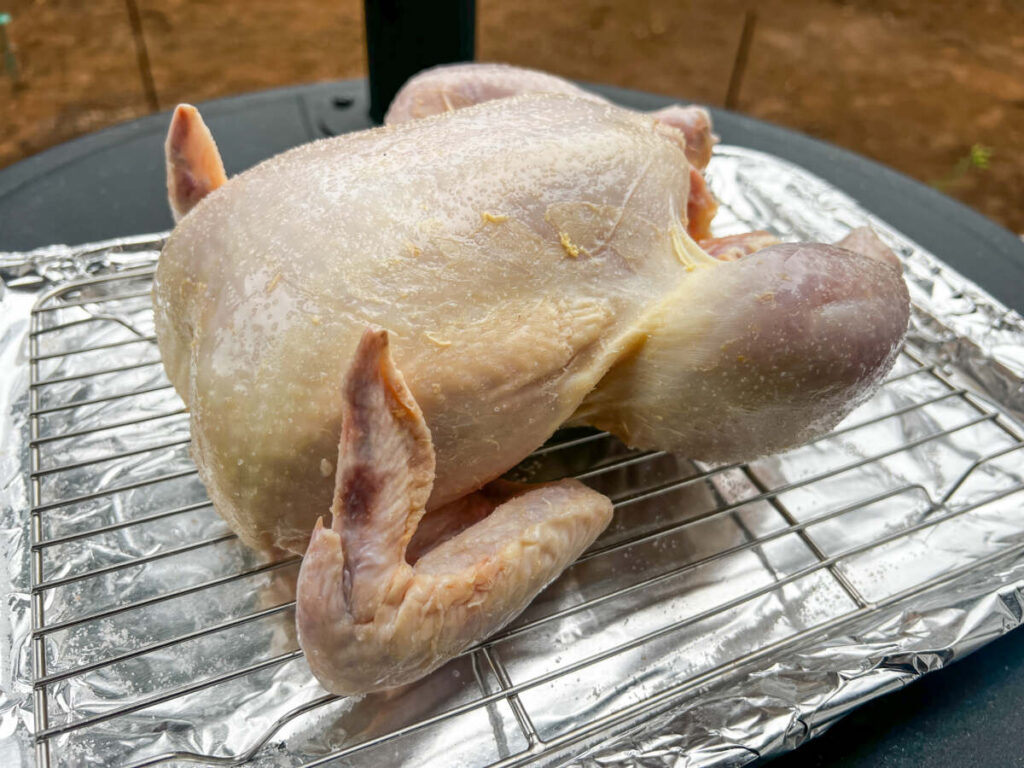
Brine the Chicken: Place the salted chicken uncovered in your refrigerator for at least 4 hours. For best results, I recommend letting it brine overnight to fully absorb the flavors.
Bring to Room Temperature: One hour before cooking, remove the chicken from the refrigerator. Allowing it to come to room temperature ensures even cooking.
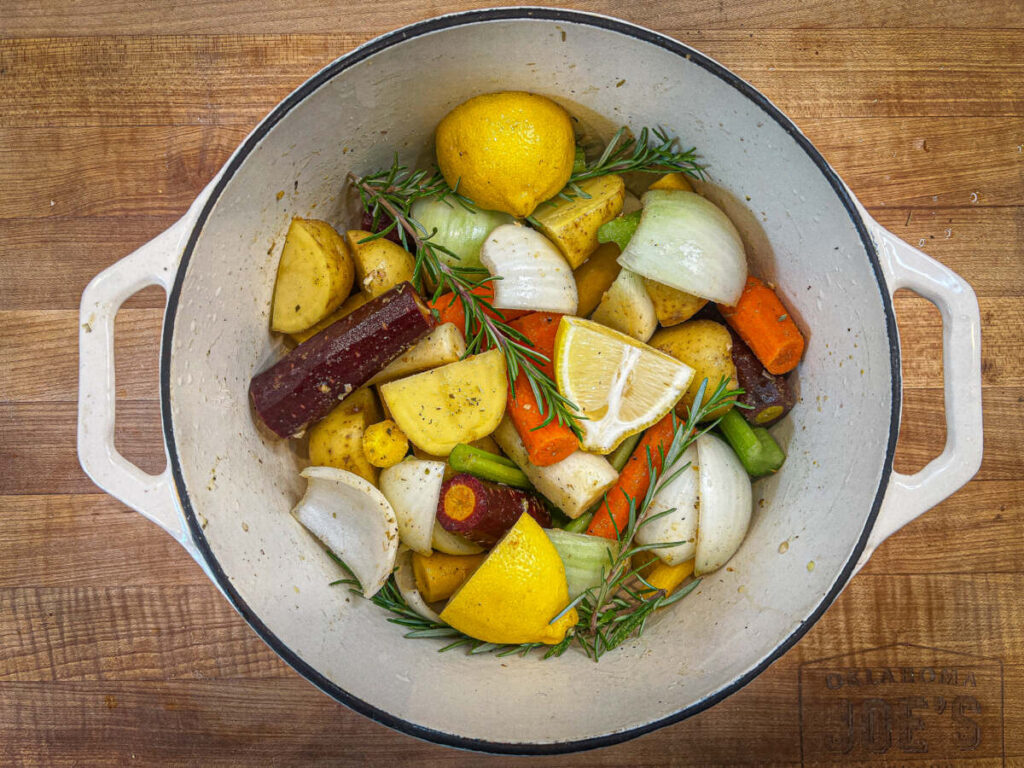
Prepare the Vegetables: While the chicken rests, peel your carrots and slice them into thirds. Next, chop the celery, onions, and potatoes into similarly sized pieces for even cooking.
Assemble the Dish: In a large Dutch oven, combine the carrots, celery, onions, potatoes, and garlic. Pour in some white wine and olive oil, and then season everything with poultry seasoning. Mix well to ensure all the veggies are evenly coated.
Add Aromatics: Toss in one sliced lemon and three rosemary sprigs for added fragrance. These ingredients will infuse the chicken and vegetables with wonderful flavors as they cook.
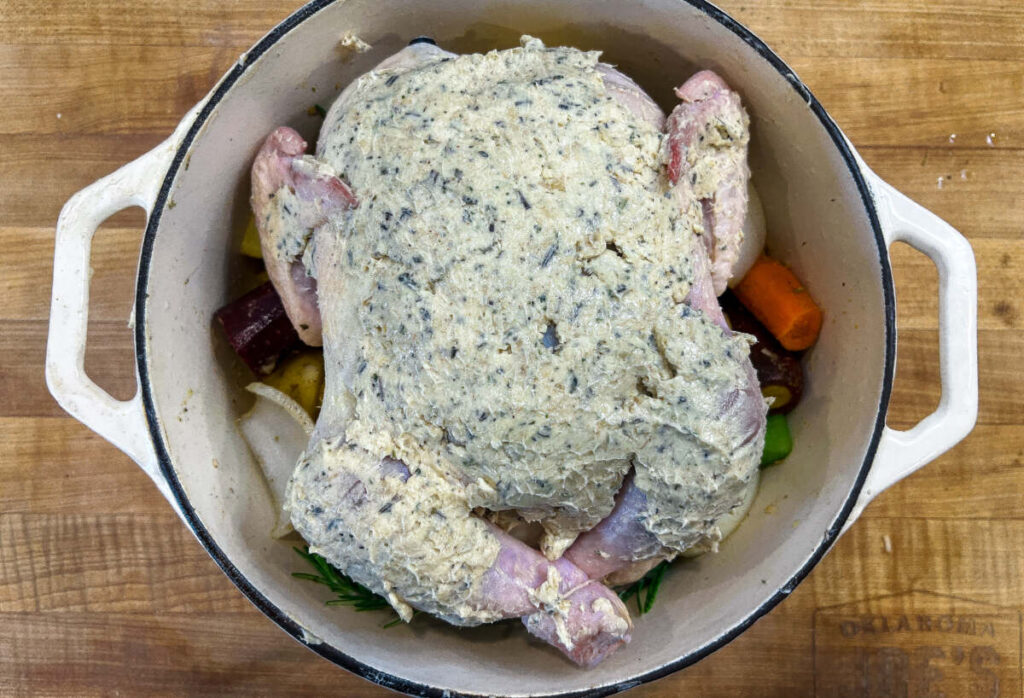
Stuff the Chicken: Now, stuff the cavity of the chicken with more aromatics — lemon, onion, rosemary, and thyme sprigs. Tie the chicken legs together to hold the stuffing in place.
Position the Chicken: Place the chicken on top of the seasoned vegetables in the Dutch oven. This setup allows the chicken to cook above the vegetables, so it absorbs flavors from both above and below.
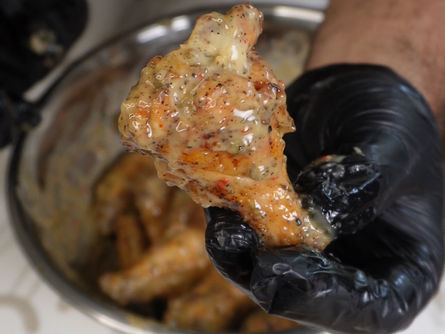
Apply Herb Butter: Spread a generous layer of garlic and herb butter over the chicken. This will give the skin a crispy, golden finish and enhance the flavor of the meat.
Cooking Process
Begin Cooking: Preheat your oven to 425°F (220°C). Place the Dutch oven inside and cook the chicken for 30 minutes. This initial high heat will help the skin crisp up.
Baste the Chicken: After 30 minutes, carefully baste the chicken with the liquid that has accumulated at the bottom of the Dutch oven. For best results, use a turkey baster or an injector.
Continue Roasting: Return the chicken to the oven for another 30 minutes, then baste again. At this point, cover the chicken with aluminum foil to prevent the skin from over-browning.
Final Cooking Stage: Roast the chicken until it reaches an internal temperature of 162°F (72°C). The foil will ensure the meat stays juicy without burning the skin.
Rest the Chicken: Once the chicken is done, remove it from the oven and allow it to rest, uncovered, for 15-20 minutes. Resting locks in the juices and makes carving easier.
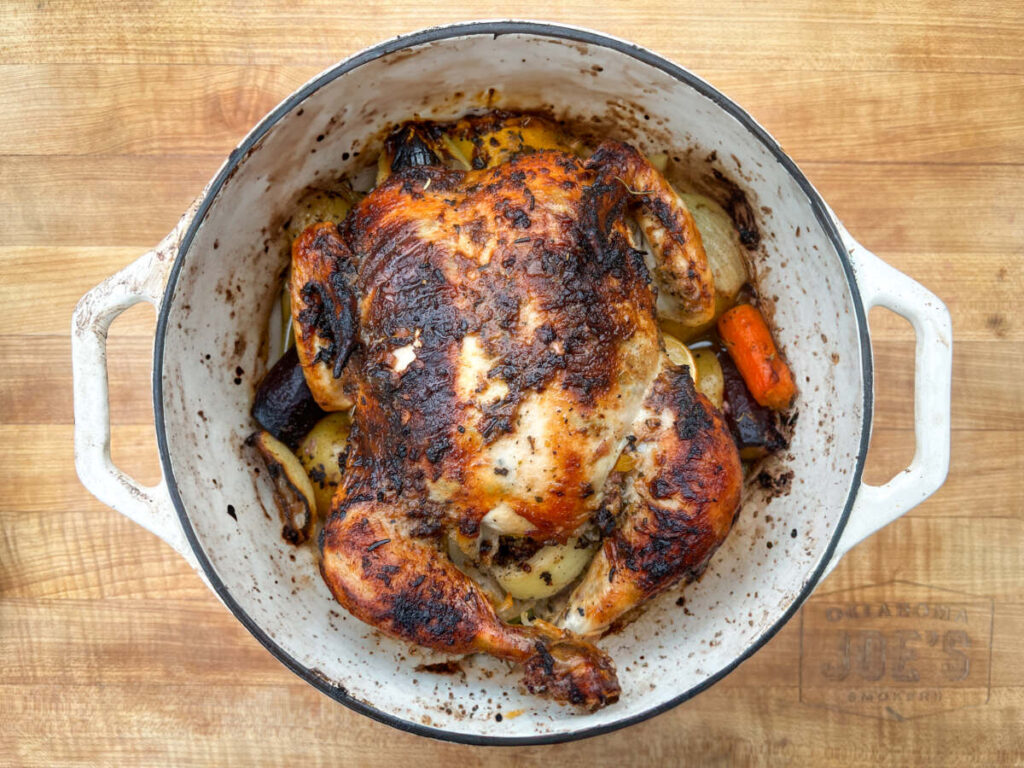
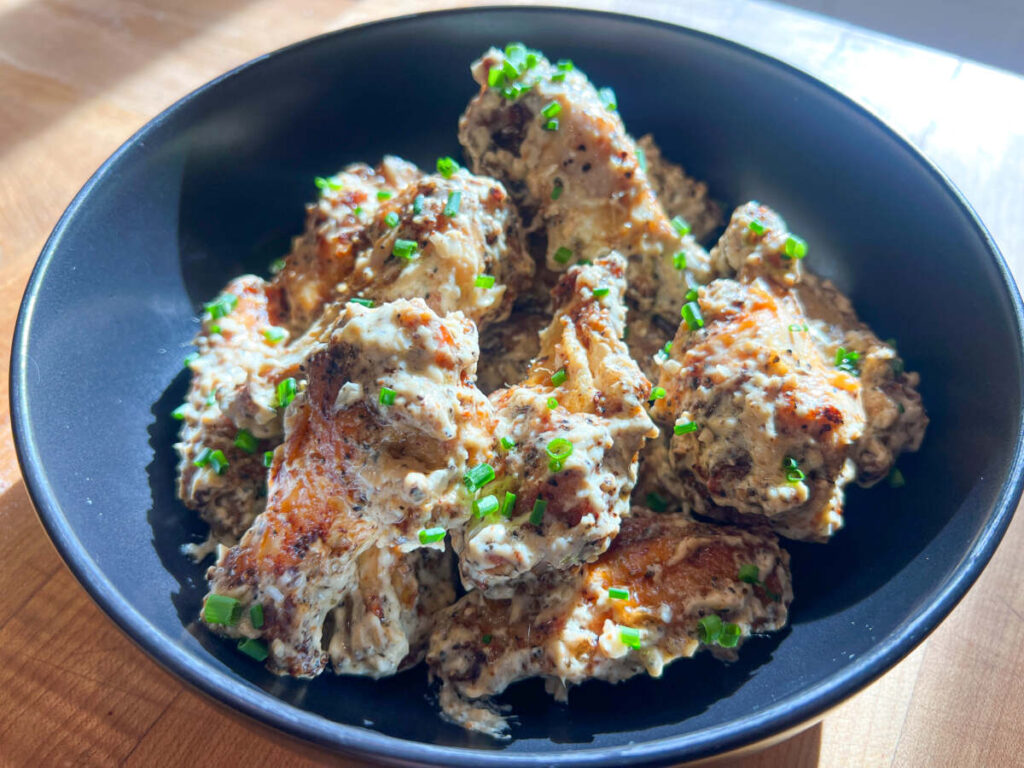
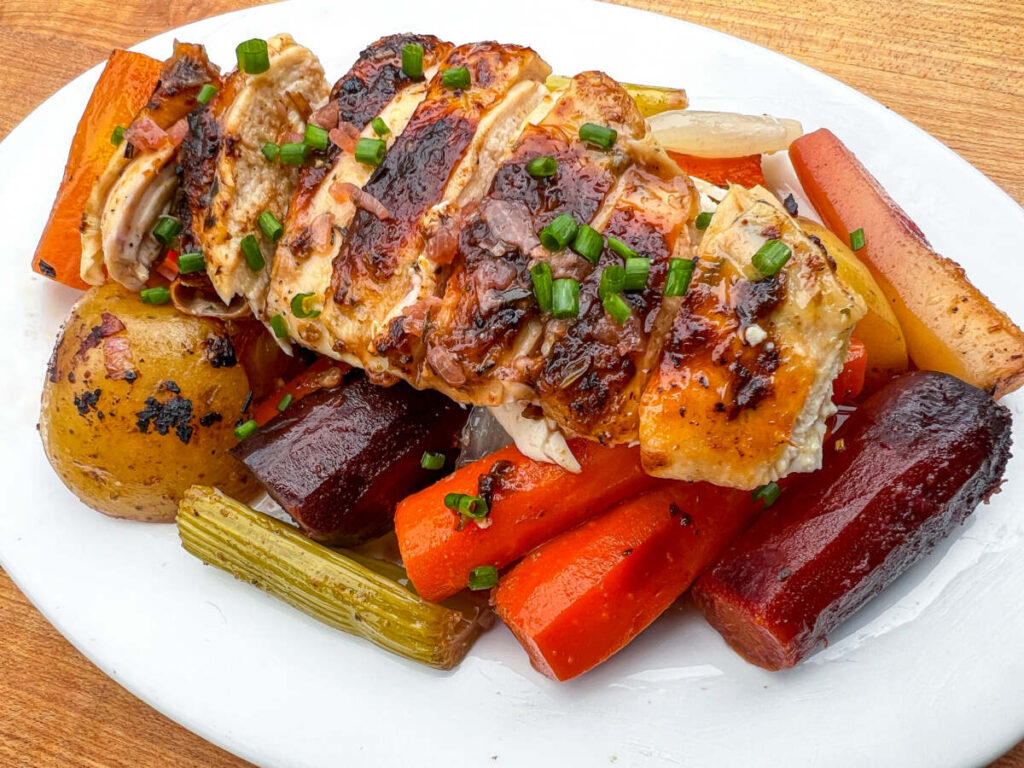
Serve and Garnish: Carve the chicken to your preferred thickness and place it over the cooked vegetables. For a finishing touch, garnish the dish with freshly chopped chives. Enjoy your perfectly roasted one-pot chicken!
This dish pairs great with Garlic Parmesan Stuffed Mushrooms
I also love this Lemon & Herb Roasted Chicken recipe it is cooked the same way!
I also make a Lemon & Herb Roasted Chicken version of this recipe
Garlic And Herb Butter Recipe
Ingredients:
- 1/2 cup (115g) unsalted butter, softened
- 2 cloves garlic, minced
- 1 tablespoon fresh parsley, finely chopped
- 1 tablespoon fresh thyme, finely chopped
- 1 teaspoon fresh rosemary, finely chopped
- 1/2 teaspoon lemon zest (optional, for brightness)
- Salt and pepper to taste
Instructions:
- In a small bowl, combine the softened butter with minced garlic, parsley, thyme, rosemary, and lemon zest (if using).
- Mix well until all the herbs and garlic are evenly distributed throughout the butter.
- Season with salt and pepper to taste, adjusting as needed.
- Transfer the garlic and herb butter to a piece of parchment paper or plastic wrap, form it into a log, and wrap it tightly.
- Refrigerate for at least 30 minutes to firm up, or use immediately if you prefer it soft.
Use Tips: Spread it over grilled meats, toss it with vegetables, or melt it over freshly baked bread for a burst of rich, herby flavor!
I use this garlic & herb butter to baste Smoked Prime Rib
Another weekday i love to make is Sheet Pan Sausage & Peppers.